 Skip to content

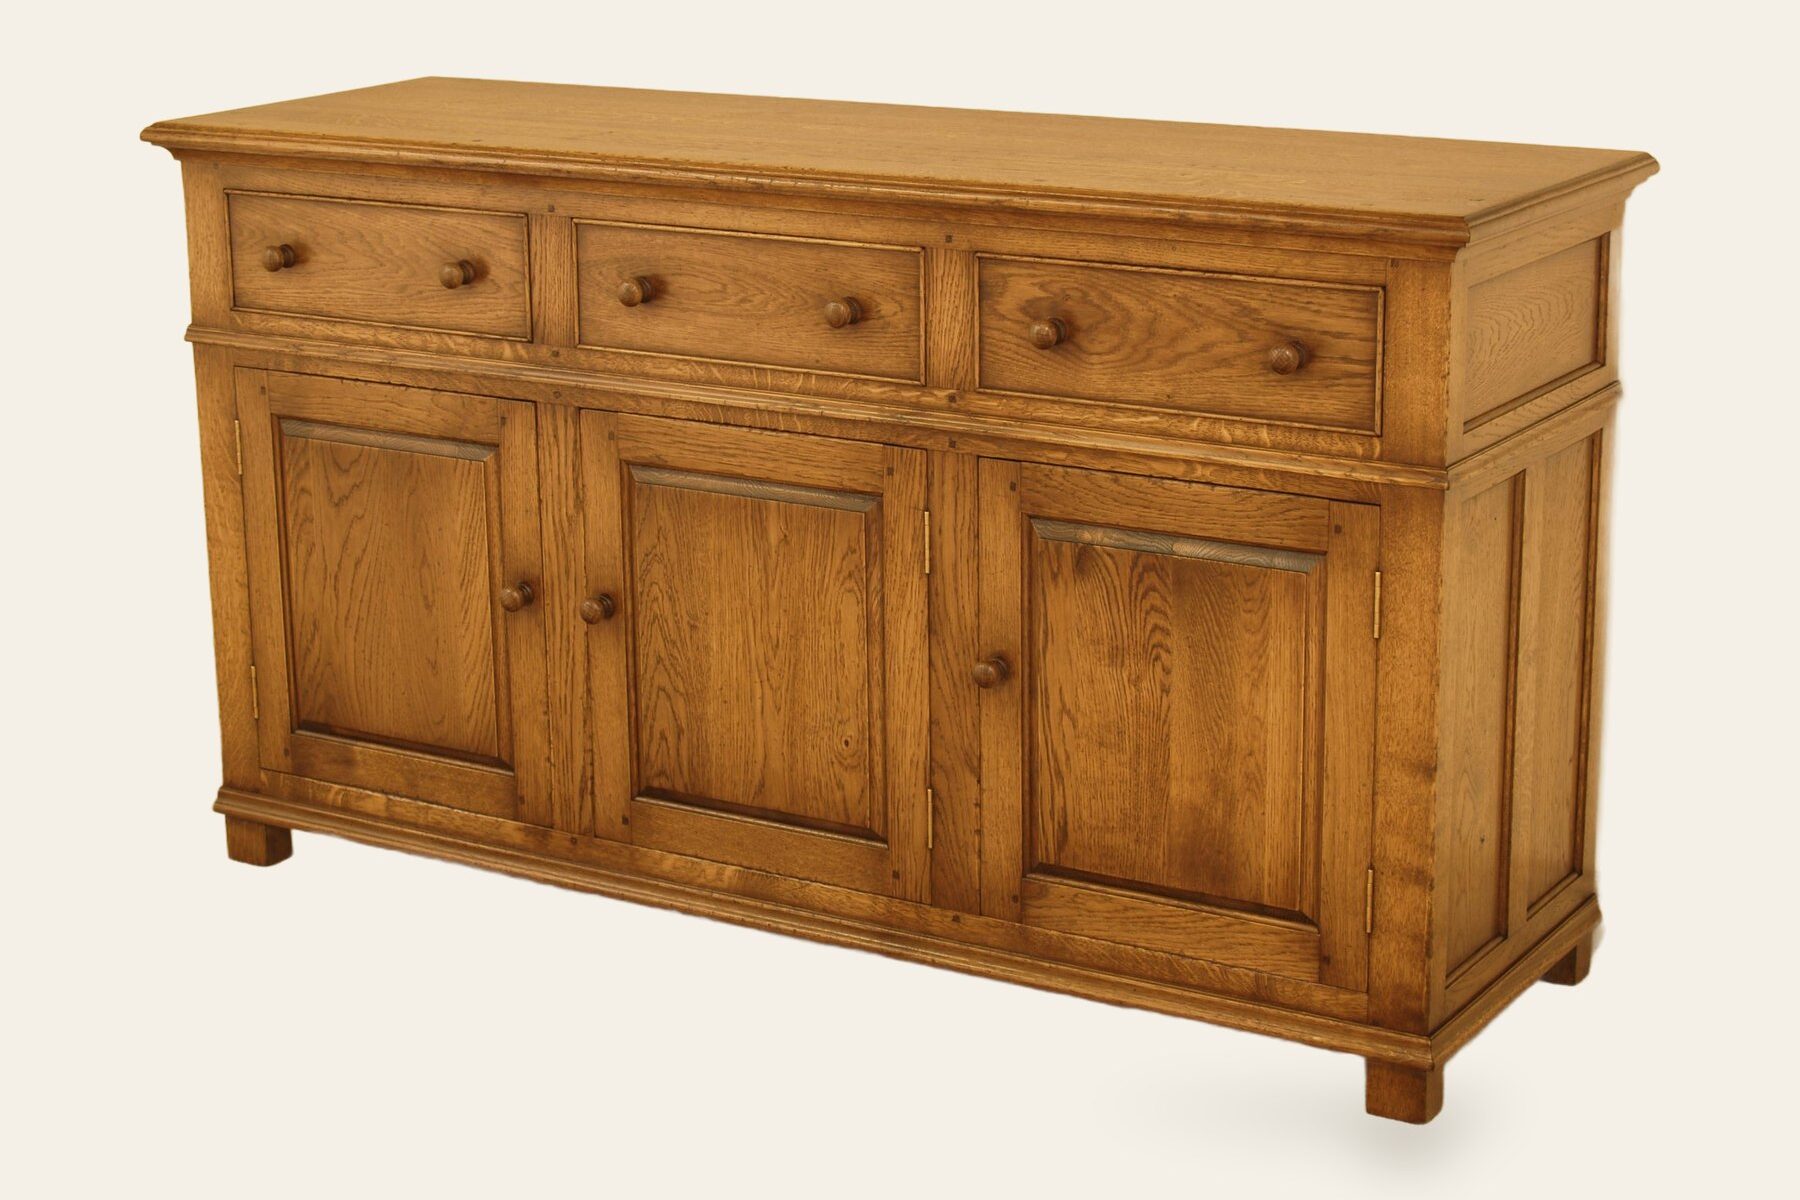
We can match furniture that is 100 years old to new reproduction purchases made the year before. It is the hardest thing we do and the reason a great many clients ring us in the first place.
On this page
Most people assume the problem is colour. Colour is the last thing to settle, not the first, and getting to it in the wrong order is why so many attempts at matching end up nearly right and permanently annoying.
Here is the order we actually work in.
1. Decide what “match” means
There are three different jobs, and they need different answers.
A pair. You have one bedside chest and want a second that is indistinguishable across the room. Everything has to line up: form, proportion, mouldings, handles, colour.
A companion. You have a dresser and want a table to live with it. It must belong in the same room and the same century, but it is not pretending to be the same piece. This is much the commonest request and by far the easiest to get right.
A continuation. You are furnishing a room around one inherited piece. The old piece sets the tone and the new work follows it, but nothing is a copy.
Tell your maker which of the three you want at the outset. A companion made to pair standards costs more than it needs to, and a pair made to companion standards will never satisfy you.
2. Start with the timber, not the stain
Species first. Oak sits with oak, cherry with cherry, mahogany with mahogany, walnut with walnut. A stain will not make one species look like another for long, because the grain, the pore structure and the way light comes off the surface are all different, and those differences become more obvious as the finish ages, not less.
Then the cut and the character. An old country piece is likely to be plain-sawn, with plenty of movement in the grain and probably some knots. A formal 18th-century piece may show medullary ray, the silvery flecking that appears when oak is quarter-sawn. Putting clean, quarter-sawn timber next to a knotty country dresser is a mismatch you will see even in a photograph.
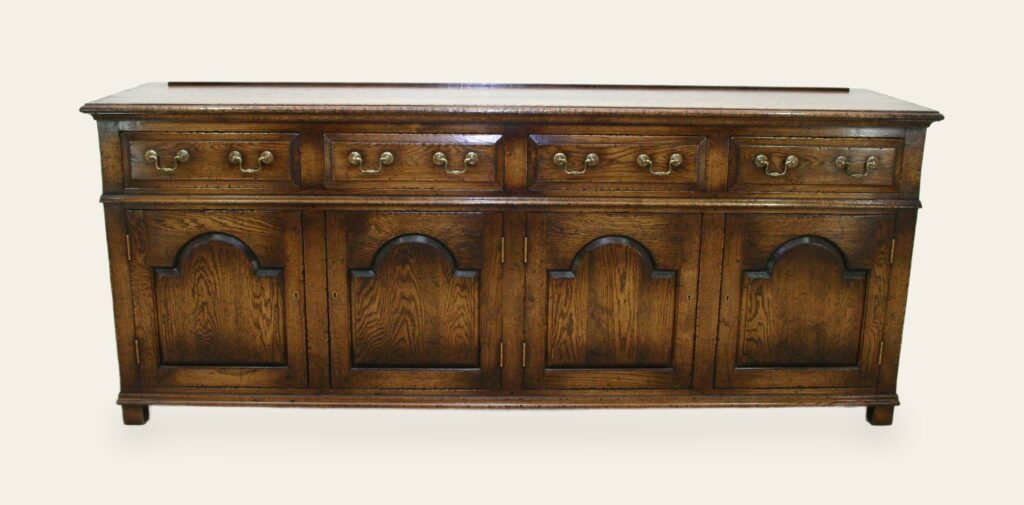
This is where the specification decisions matter. We can supply character oak, which shows knots, ray flecking and small shakes; pippy oak in three grades; timber selected specifically for medullary ray, within or without; and clean timber with no knots at all. Which one you need is dictated entirely by what you are matching.
3. Get the proportions right
Proportion is what the eye reads first, from across a room, before it has registered any detail.
Old furniture was made to different assumptions. Dining tables were often lower than modern ones. Chair seats sat lower. Dresser racks were shallower, because plates were smaller. Skirtings were deeper and ceilings were higher, so plinths and cornices were sized accordingly.
Measure the old piece properly before anything else: overall height, width and depth, plinth height, cornice projection, the height of the top rail, the depth of the drawer fronts, the gap between drawers. Photograph it square-on and side-on with a tape measure in shot.
If the new piece is a different size by necessity, and it usually is because it has to fit a particular wall, keep the proportional relationships rather than the absolute dimensions. A plinth that is one-tenth the height of the carcase should stay one-tenth on the new piece, not stay at exactly 90mm.
4. Match the details, then edit them
Mouldings are the signature. A thumbnail profile, a cock bead, an ovolo, a scratch bead: each belongs to a period and a level of formality, and each is easy to copy accurately if someone takes a section off the original.
The best way to convey a moulding is not a photograph. It is a rubbing, or a card template cut to the profile, or simply lending us a drawer. If none of that is possible, a close, square-on photograph with a rule held against the edge will usually do.
The same goes for the smaller decisions that carry a period: cock beading around drawer fronts, raised and fielded panels versus flat ones, whether the side panels are framed, whether there is a decorative cut-out to the plinth.
Then edit. Copying every feature of an original produces something that reads as a fake, and fakes look worse over time, not better. Take the mouldings, the proportions and the panel treatment, and let the new piece be honestly new in the places nobody looks.
5. Ironmongery is more visible than you think
Handles and hinges are read at eye level and are the single quickest way to spoil a good match.
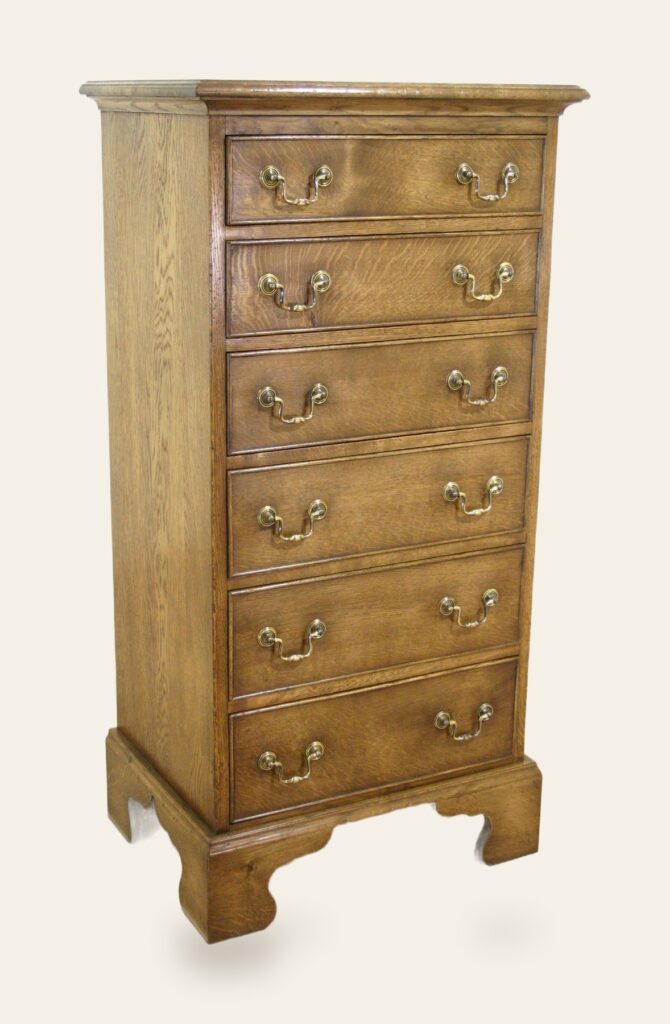
Look at what the original has: solid brass knobs, swan neck handles, exposed butt hinges, or something particular that will need making. Look at the finish too, because new lacquered brass beside a hundred years of oxidised brass will be the only thing you see for the first two years.
Escutcheons, backplates, the number of fixings, whether screws are slotted rather than crosshead: these are small, cheap decisions that make a disproportionate difference.
6. Colour, last
Now colour, and this is where the finishing shop earns its keep.
The complication is that the old piece is not one colour. It is a hundred years of light, wax, handling and dirt, unevenly distributed: darker in the corners and under the mouldings, lighter where hands and sleeves have polished it, faded along the edge that faced a window. A single flat stain cannot imitate that, and a piece finished with one will always look flat beside the original.
A colour match is built up in stages, checked in daylight against the real thing rather than under workshop lights. That is why colour matching and natural finishes are priced on application here: they take extra polishing time, and there is no way round that.
Send a photograph, and where you can, send something physical. A drawer, a spare shelf, a loose shelf bearer, anything that is genuinely part of the piece and can travel, is worth ten photographs.
7. Allow for what happens next
The new piece is not finished changing.
Every timber we use moves in colour. Oak warms and deepens, cherry darkens quickly and dramatically in its first year or two, mahogany deepens, walnut mellows and lightens. A new piece matched perfectly on delivery day will drift for a while before settling.
A good match therefore aims slightly ahead of where the old piece is, so the new one arrives at it rather than passing through it. Ask your maker how they are allowing for this. If they have not thought about it, that tells you something.
The same is true of light. Keep both pieces in comparable conditions where you can, and move mats, runners and objects about so surfaces age evenly.
What to send us
If you are thinking about it, this is what makes an enquiry easy to answer:
- Photographs of the original: square-on, side-on, and a close view of a moulding and a handle
- Overall dimensions, plus plinth and cornice heights
- A rubbing or template of the key moulding, if you can manage it
- Any physical part of the piece that can travel
- Where in the room the new piece will stand, and what light it will get
Then order timber and finish samples, put them next to the original, and look at them in daylight and after dark.
Matching antique furniture · How commissioning works · Call 01449 710500
How to Match New Furniture to Antique Furniture
3 pieces from the workshop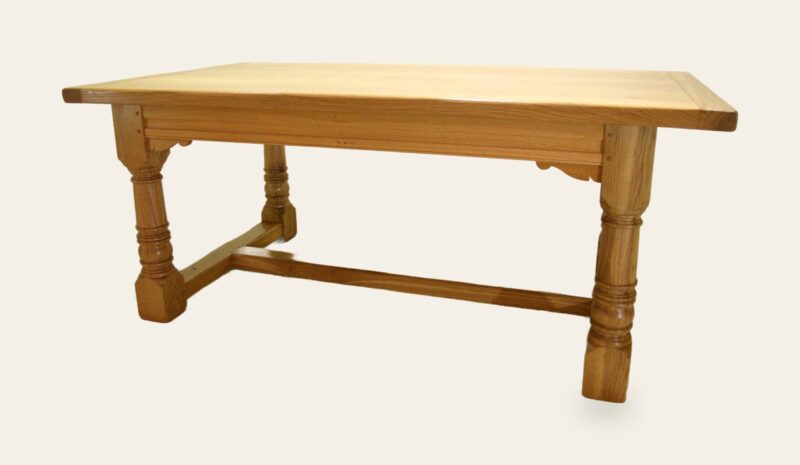
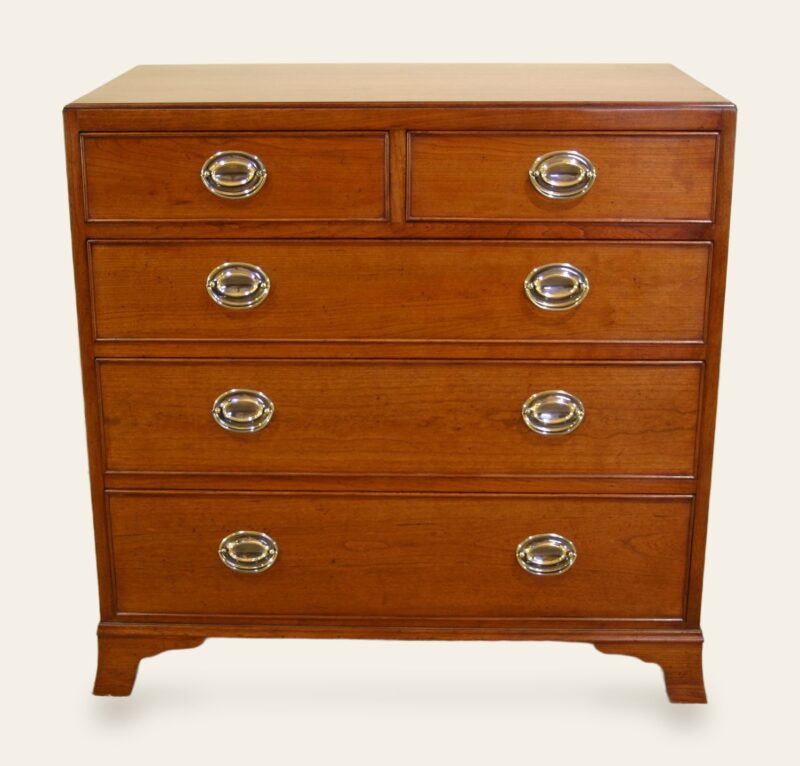
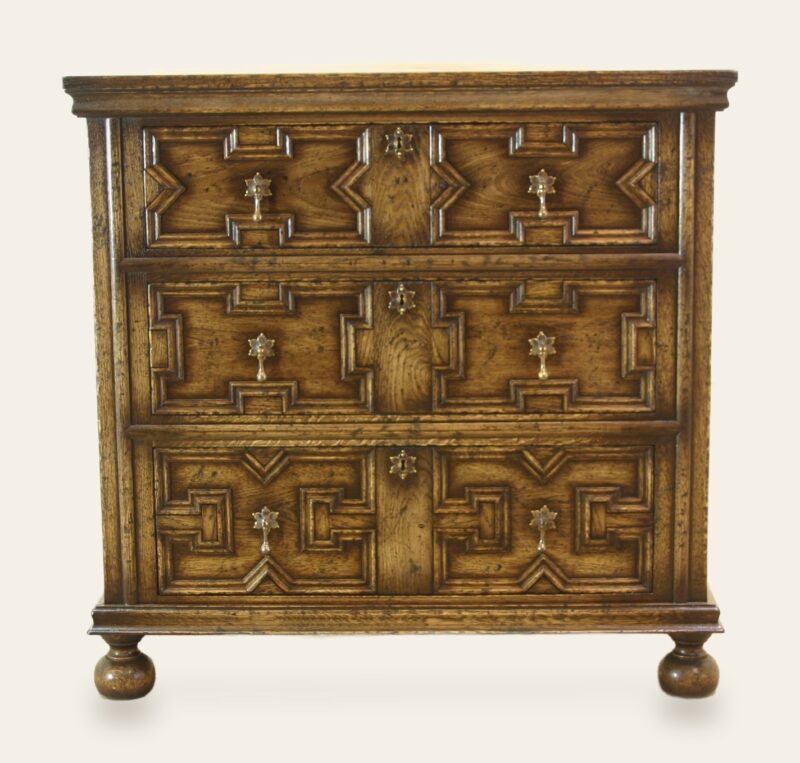
The same exercise is done in fitted work — panelling and built-in furniture by Reeve & Co Interiors, kitchens by Square & True — so a whole room can be brought into agreement, not just one piece.